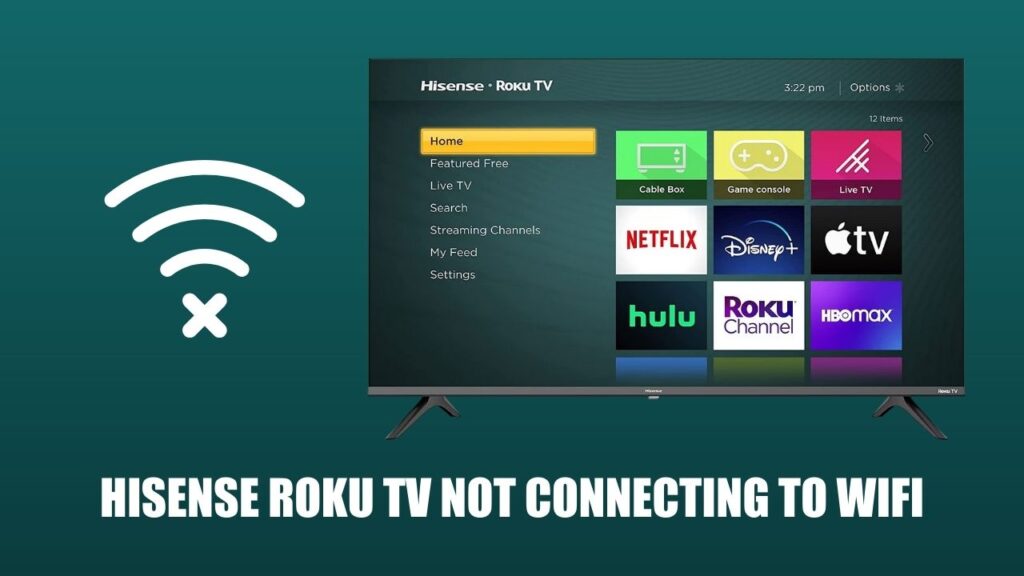
If the Roku TV is not connecting to your Wi-Fi, then it might be due to a Wi-Fi connection problem, hardware problem, faulty router, incorrect password, outdated firmware, or inability to pick up Wi-Fi 5 GHz. Also, incorrect device settings, expired IP addresses, and failed Wi-Fi modules can generate this error.
You might find that even after restarting the Roku TV, it is getting disconnected from the Wi-Fi network, or it won’t connect back. The second scenario can be – even if you enter the correct password, it still won’t connect, and the network fail error appears.
The easiest way to fix the Hisense Roku TV not connecting to WiFi is to power cycle the TV. Unplug the TV from the power at the outlet, and leave it for around 30 to 40 seconds. Then, plug it back in again and turn it on. Now, check whether the TV is able to connect to the Wi-Fi. You can also try to reset the TV by going to the settings., and selecting System > Advanced System Setting. Then, navigate to Network Connection Reset and hit the Okay button. This would restart the TV, and your Wi-Fi network will resume. Verify whether the connection is stable or not by streaming any application.
We will help you with the top 7 methods that would fix the WiFi not connecting error.
7 Methods to Fix Hisense Roku TV not Connecting to WiFi
Unable to connect to WiFI can stop you from streaming your favorite movies and videos in Hisense Roku. So, here are the methods that you must try to resolve the error.
Power cycle the network router
The very first thing that you should do is power cycle your network router, even if it shows excellent signal range when connected with other devices. This process will help to eliminate minor glitches, and your network will send a request for a fresh IP address to your TV.
Here’s how you can power cycle your network:
Turn off the router and keep the device aside for 30 minutes, you also need to unplug it from the power outlet. You can also verify whether the power outlet is faulty or not. If not, it would take around 2 to 5 minutes for the router to be online. Now, restart the TV and connect it to the proper Wi-Fi network.
Conduct network connection check
If even after power cycling the router, you are unable to get a proper signal, then you need to check the status and signal strength of the internet connection on that Hisense Roko TV. You need to go to Settings, click on Network > About and verify whether the device is connected or not.
On the very same page of the Roku TV, you would find the remarks “Poor”, “Good”, and “Excellent” near the labels Status, Connection type, and Signal type.
If the status indicates “Poor”, then the network signal is not stable. So, you need to click on Check Connection, which will start checking the internet connection as well as the wired or wireless connection. Once the check is complete, it will show the results in the form of “Connection check was successful”.
Now, wait for a while, and the network connection will resume automatically.
Reset network connection
If you have followed the above methods and still the Roku TV fails to connect with the Wi-Fi, then you need to reset the network connection. This will disable all the network access points, and the network driver will also reset. You can also proceed with this step right after Power cycling the TV as well as the router.
Press the Settings option on the remote, which appears as the Gear icon. Under Settings, select the option System > Advanced System settings > Network Connection Reset, and finally, press the Okay button. This will instruct the Hisense Roku TV to reboot. After it is complete, you can connect it to the Wi-Fi network.
Resetting the network connection will delete all the saved networks, so you need to update the settings. Again, for that, go to the Home button on the Roku remote. Scroll down and select Settings. Click on Network Setup Connection and choose the Wireless option.
From the list of available networks, select the Wi-Fi network that you want to connect to. If it is not available, then click on the Scan Again option to locate all the available networks. Finally, enter the correct network password and select “Connect”.
Update the Roku software
If the Roku OS software is outdated, then you need to download and install the latest version. Otherwise, it might create a hindrance in network connectivity. All you have to do is click on the Home button of the Roku remote, select Settings > System > System Update, and finally click on Check to proceed manually.
This will search for any updates, and if it’s available, it will download and install automatically. Once the update is complete, you can connect the Hisense Roku TV to Wi-Fi
Keep the network router firmware updated
If you are unable to connect any device to the network, then there must be an outdated firmware issue. So, set it up by accessing the dashboard of the router. You can get it through the gateway IP, once you reach the dashboard. Navigate to the firmware option and update it to the latest version. Now, this should help you to connect to the Wi-Fi network. However, before you proceed, do not forget to restart the router.
Configure the network router brand
Usually, networks have two popular communication bands – 5 GHz and 2.4 GHz. If you have a dual-band network router, then it can broadcast both of these bands. Now, Roku devices often fail to connect with the 2.4 GHz spectrum, and in that case, you need to connect to 5 GHz.
If you are unable to change the route settings for the GHz, then you need to contact the router provider. If your dual band router fails to provide both these bands, then you need to go through the dashboard, change the settings, enable both spectrums and try to connect the router with the Hisense TV successfully.
Reset TV to factory setting
You need to reset the factory setting, but we must warn you that if you proceed with this method, then you might lose all the pre-installed applications and configurations.
To reset your Roku TV, you must click on the Home button present on the Remote. Select Settings, next go to System > Advance System Setting > Factory Reset, and enter the code that is displayed on the TV. Finally, click on Okay, and this will reset your Roku TV. If you do not want to use your remote to reset the TV, then use the physical button.
How to use the Physical Reset button of the Hisense Roku TV?
On the back side of the Roku or near the HDMI port, you will find the Physical Reset button. Now, use the pin and hold down the button for a few seconds. Wait for a few seconds until the device is powered on. The device might power on and off twice, so keep holding the Reset button. You will find the Rock TV logo on the screen.
Now, release the button, and your Factory Reset will be complete. The TV would again reboot twice before it is finally able to connect with the network.
Can delayed Remote Response be a reason for Roku TV not connecting to Wi-Fi?
Yes! A delayed remote response can be a reason for Hisense Roku TV might not connect to WiFi. So, try to replace the batteries, and this would fix the slow response with the remote. However, if the above fixes fail to help you out, then you can contact the Roku support team or your network provider based on the initiation of the problem.


![Where is the Reset Button on Hisense TV? [All Modes + Expert Guide] Where is the Reset Button on Hisense TV](https://techinfest.com/wp-content/uploads/2023/04/Where-is-the-Reset-Button-on-Hisense-TV-1024x576.jpg)


