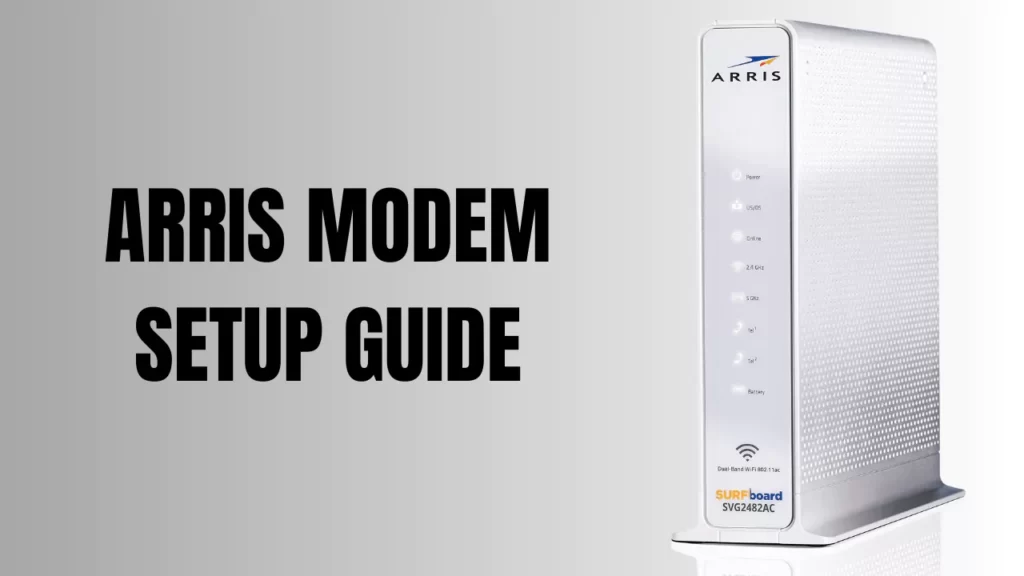
To set up an Arris modem, you need to go through three processes – you have to initially set up the modem, set up the network, and then configure the settings. For hardware setup, you have to bring out the newly bought Arris modem from the box, plug the cables into the power outlet, and switch on the power. The power LED will start blinking red and then get solid green. Finally, your Arris modem is ready for network setup.
If you are a beginner, then let’s walk you through a step-by-step process that will help you in setting up an Arris modem, but before that, you need to get a stable and good speed internet connection.
Stage 1: How to set up Arris modem?
To set up the Arris modem, you have to take the hardware and plug in one end of the coaxial cable into the port located at the back side of the modem. Take the other end, and it should be finger-tight in the coaxial splitter. You will find the coaxial splitter near the TV, and also make sure that the cables are tightly plugged in.
Take the ethernet cable and plug one end into the “Out” port of the Arris modem and the other end into the computer or any other device that you want to connect through Ethernet. In case you are using a separate router for a Wi-Fi signal, then connect this device through Ethernet with the Arris modem.
Finally, plug in the power cable into the power outlet and wait for 2 to 3 seconds. You will find the modem fully boots up, and it is ready for a network setup. A green light would indicate that the Arris modem is fully powered on.
Stage 2: How to set up the network on Arris’s modem?
To set up the Arris modem network, you have to use a web browser, it can be Chrome, Firefox, or Safari, and a PC with Windows or Macintosh version. Input “19 2. 168. 100. 1” IP address in the address bar of the browser and hit the Enter key to reach the Arris modem control panel.
Now, enter the username and password for the router to log in and access the admin page. You can put in the default username as “admin” and the default password as “password”. However, if you have changed it eventually, then you need to input the new one. Next, click on the Login button, and you will gain access to the Control Panel. From the top side of the screen, select Basic Setup to go through the Network Settings.
From the Basic Setup section, you can change the name of the modem, configure the values, make changes to connectivity settings, rename the wireless network or SSID, and also set up a security mode, either WPA2-PSK or WEP or WPA2/WPA.
Choose the settings that are compatible with all the other devices. Setting up a password for the Wi-Fi network will restrict any unwanted guests or unauthorized people from accessing the network. Finally, click on Apply, and this should save all the settings and set up the network.
Stage 3: How to configure the common settings?
When you enter the control panel of the Arris modem, you will get a number of settings that you can reconfigure. For WAN setup, you have to click on the WAN setup tab and go through the configurations or settings. Here you can modify the Dynamic Host Configuration Protocol and also the wireless network, which includes the IP address and subnet mask.
You can also change the IP settings for local area networks. If you want to enable a Firewall, then click on the Firewall tab, and also, if you want to restrict children from accessing certain websites, then set up Parental Control. Update the firmware to improve the modem’s performance and eliminate technical glitches by clicking on the Utility tab and selecting Update modem firmware.
Is Arris Surfboard a modem or a router?
The Ariis Surfboard is a combination of router and modem, and it is designed to support the fastest internet connection. It is also compatible with every major ISP and also comes with a user manual for quick setup.


