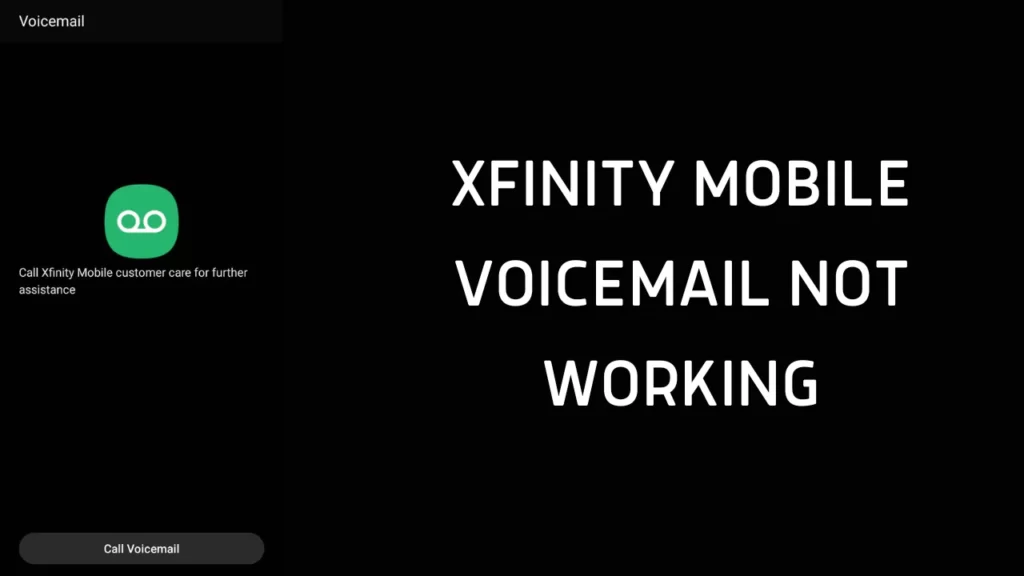
Xfinity Mobile Voicemail not working either due to a problem with the mobile device, a loading error, the voicemail feature being disabled, the storage being full, the voicemail loading issue., etc.
These errors are quite common, and so are the solutions. Try to restart the phone to debug technical glitches. Press down the Power button, and when the options list appears, select Restart. Wait for at least 30 seconds, and the phone will automatically turn off and turn on, eliminating the error.
However, if you are looking for additional troubleshooting steps, then this guide can help you.
6 Ways to Fix Xfinity Mobile Voicemail not working
Before you start with the troubleshooting steps, set the Xfinity Mobile Voicemail feature properly and test whether you can clearly hear the voicemail.
Fix 1: Verify for a mobile device error
If you haven’t updated the mobile OS or the app, then it can create a problem with the voicemail. So, connect the device to a stable and secure internet connection before you proceed.
Check whether the voicemail app is installed on your phone. Go to the Phone Settings tab, tap on General, and look for the option Software Update. Click on it and wait for the update process to complete.
Next, go to the Google Play Store if you are using an Android phone or an Apple app for an iOS device. In this search bar, look for the voicemail app and update it. Finally, check whether this helps to remove the mobile device and voicemail error.
Fix 2: Check for app or service error
If the app crashes and a black screen appears, then it indicates a problem with the Android OS. To fix it, you need to clear all the recently downloaded applications and then open the voicemail app to check whether it’s working properly. Usually, these issues last for a few seconds and are temporary. If this does not work, then you need to reinstall the application.
Fix 3: Check whether the voicemail storage is full
You are only allowed to record 85 minutes of messages Xfinity Mobile Voicemail. If this limit is over, then you won’t be able to access the voicemail or record any messages. So, you need to clear the storage, go to the App tab, open Messages, and look for messages from Xfinity.
If you find any message regarding the voicemail storage, open it, follow the instructions, and clear the storage for additional voicemails or auto-record messages. After you are done, remove the SIM and reinsert it. Now, this should fix the Xfinity Mobile Voicemail error.
How to reinsert the Xfinity SIM card?
If you want to enhance the performance of the network without any voicemail glitches, then reinserting the SIM card can help. So, get your mobile device and locate the SIM card latch present on the side panels.
- Use the SIM card needle and insert it into the pinhole at the top of the SIM card latch.
- When you push the needle, the SIM card tray gets unlocked.
- Pull out the SIM card tray, remove the SIM card, and keep it aside for 30 seconds.
- Next, insert the SIM card in the SIM card tray and push the tray back to its position.
- Turn on the phone and test whether the Voicemail is working without any glitches.
Fix 4: Check whether there is a voicemail notification problem
Often, app errors can lead to notification problems, and along with this, if you have set incorrect phone notification settings, then it can also lead to voicemail errors. Go to App, select Xfinity mobile app, and tap on Notification. If it is disabled, then enable the feature so that you can get notified whenever a voicemail arrives.
Also, go to Settings, click on Notification, and enable the notification for the Xfinity mobile app on the phone. Check the phone notification volume whether it is set to a higher level so that you can hear the notification.
Fix 5: Renew the Xfinity mobile plan
Often, the Xfinity Mobile Voicemail can get deactivated automatically if the Xfinity mobile plan has expired. So, check the subscription date and activate the voicemail plan. To subscribe, you have to use the Xfinity mobile application and look for the Pay Now button.
Next, follow the onscreen instructions, complete the setup, and choose any suitable payment method. Pay your fees and proceed to the checkout phase. Within an hour, you will find that you are online and the voicemail plan has been activated.
Fix 6: Reset the phone network settings
A misconfiguration in the networking settings can also lead to a drop in voicemail service, and this might restrict you from using the feature. So, choose the correct process to reset the network settings to fix the issue, as it differs for Android and OS devices.
Here are the steps that you need to follow, and remember to turn off the phone while the reset is ongoing.
Android device:
Go to Settings, tap on System, and select Advanced Step. Next, select the Reset option and tap on Reset Network Setting. Wait for the process to complete, and then try to access the voicemail.
iOS device:
Go to settings and tap on the General tab, then select “Transfer or reset” and again tap on Reset. Now, choose Reset Network Settings and wait for the process to complete. Finally, check whether the voicemail is working appropriately.
How to solve the loading issue with voicemail?
If there is a voicemail loading issue, you need to check the Wi-Fi and internet connection. Ensure that they are stable and optimal to hear a voicemail recording. There can also be a problem with the audio connection, so test the phone’s microphone, speakers, and connected headset.
Certain apps require access to the microphone or permission to record voicemail. If it is not enabled, then you need to get to the Settings of your phone and enable it. This tweak would definitely fix the loading issue.
How to activate Xfinity Mobile Voicemail on your phone?
You need to set the Xfinity Mobile Voicemail accurately so that there are no loading issues. So, unlock your phone, use the dial pad, and dial *99. This will take you to your Xfinity Mobile Voicemail box. Now, follow the instructions given by the automated voice guide and set a password and a greeting message. Finally, you are good to go to use the voicemail feature.


