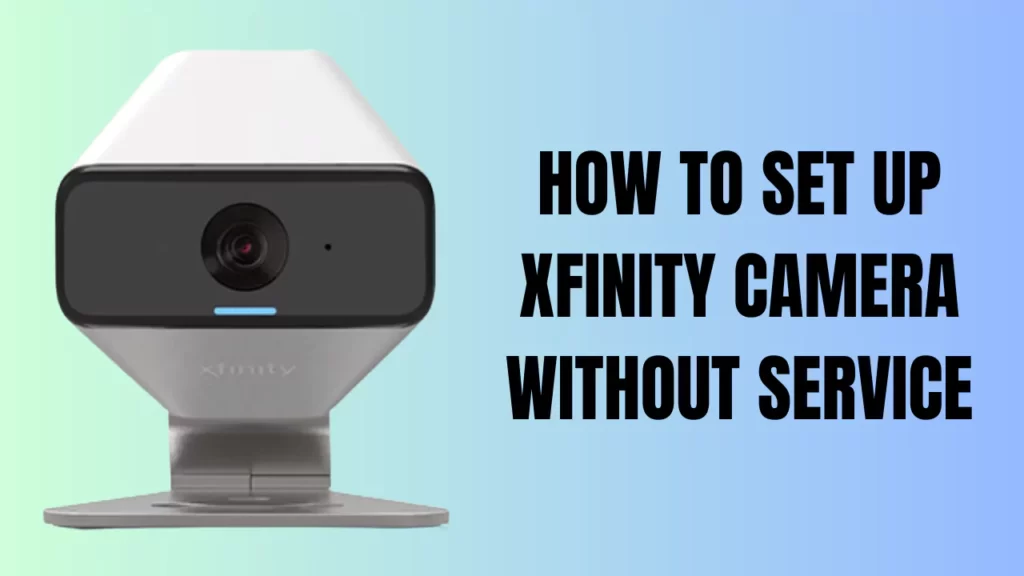
To set up an Xfinity camera without a service package, you need to first reset the Xfinity camera, reconnect the camera to the internet, and configure the camera settings so that you are able to view and manage the device.
If you are a new user and have bought the Xfinity camera to add an extra layer of protection, either outdoor or indoor, then you need to follow the step-by-step process.
Even if you do not have the Xfinity service package, you can still use the camera. Let’s show you how. However, to begin with, you must have a stable and active internet connection and verify that the camera is in its proper functional condition.
Preparation to set up Xfinity camera without service package
To start with setting up the Xfinity camera without an active service package, here is what you need to do –
- First, you need to have a Y cable connector so that you can connect two devices through a single Ethernet port, or you can also split the connection into two.
- If you are willing to connect more than one device to a single port, then the Y cable is quite functional.
- Along with this, you also need a pin so that, at times, you can hit the reset button, which is a major part of the process.
- You can also ditch the Wi-Fi connection and take the help of the Ethernet cable instead.
- Do not forget to check the physical conditions of the cables, and if there is any wear and tear, then immediately replace them.
How to set up an Xfinity camera without a service package?
Let’s go through a step-by-step process where we will discuss how you can set up an Xfinity camera, even if you have lost the service package.
Step 1: Reset the Xfinity camera
If you are trying to set up the Xfinity camera without a service package, then you need to configure the settings to their defaults. So, reset the device, and it will take the camera back to its factory settings.
Step 2: Reset the camera
Find the reset button on the camera, which is usually present in a pinhole at the bottom of the device. Next, using a pin, press down the reset button and hold it down for 10 seconds. Release the reset button, and the camera will get to its default factory settings. You need to repeat the same process for the camera’s power adaptor.
Step 3: Connect the camera to the internet
You need to connect the camera to the internet in order to proceed with the system setup. So, take the Y cable connected, a pin, and the Xfinity camera before you proceed with the steps. Use the Y cable connector and connect the camera to the internet.
Connect one end of the two-way splitter to the camera port and the other end to the network device. Next, connect the Ethernet end of the splitter to the router or modem’s blue port. Check whether there is a stable internet connection of at least 2 MB on the network. Now, connect the camera using Wi-Fi or Ethernet to the home network. Take note of the IP address of the camera.
Step 4: Configure the camera settings
Verify whether the Xfinity camera is connected to the internet. Now, it’s time to configure the home security. Download and install a video surveillance app on your smartphone so that you can view and manage the Xfinity camera remotely. Always get the active service subscription without any fail to retain the access. Now, proceed to set up the camera.
Launch the video surveillance app and select the option Add camera. In the blank space, enter the IP address that you have previously noted down and enter the login credentials, which would be the default value. Usually, the default username is “admin” and the default password is “1234”.
Hit the Enter key and follow the onscreen prompts to complete the setup. Wait for the connection to get established so that you can view and manage the camera through the video surveillance app. If you want to receive live feeds from the camera, then the application must be running all the time on your smartphone.
Can you use the Xfinity camera without a service plan?
Yes, you can use the Xfinity camera without a service plan, but it comes with certain limitations. You are deprived of the benefit of home security and other features. Here are the features that you won’t be able to access:
- Personal monitoring. where you get alert messages during an emergency.
- Emergency dispatched – Emergency services are automatically dispatched, such as fire or police departments.
- Xfinity Home App – Here, you get to view and control the camera and also receive alerts and notifications.
What would happen if you factory reset the Xfinity camera?
If you factory reset the Xfinity camera, then the camera will lose its connection to the app. All the recordings, that are yet to be saved, will be removed. Moreover, if you have reconfigured the settings or made any customer changes, then it will get deleted permanently.
How to connect Xfinity Camera to Wi-Fi?
You do not need to rely on the Xfinity app to connect the Xfinity camera to Wi-Fi; rather, this can be done through WPS. However, before you proceed, you need to verify whether your router is compatible with the WPS feature and also as a dedicated button. If the device lacks a WPS button, then you cannot connect the Xfinity camera through Wi-Fi.
For the connection – Press the setup button on the Xfinity camera, and wait patiently for the camera light to start blinking blue. Next, keep pressing the WPS button for the next 60 seconds. When the lights on the camera turn green, it indicates that a connection has been successfully built.
How to keep a backup of the Xfinity camera recordings?
You can keep a backup of all the Xfinity camera recordings in the Xfinity cloud storage. However, if you do not have the service package, then you won’t be able to access the cloud storage. In this scenario, you need to opt for alternatives, such as: Opt for a third-party surveillance app and cloud storage services, or manually save the recording on a hard drive by connecting the camera with the DVR or NVR kit.


